Quick Start
What is AirSmart?
Unboxing
Thank you for choosing AirSmart. We really hope you will be delighted with your air quality monitor, and that it will help you to look after the well-being of your family, your flatmates or your business.
Inside your AirSmart air quality monitor, you will find
Your Product Brochure
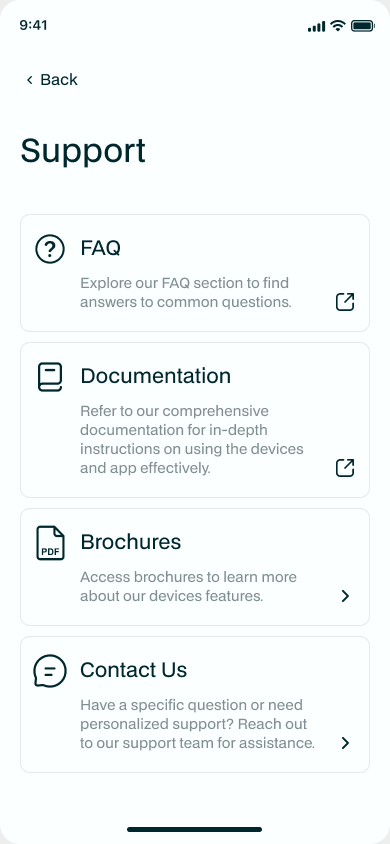
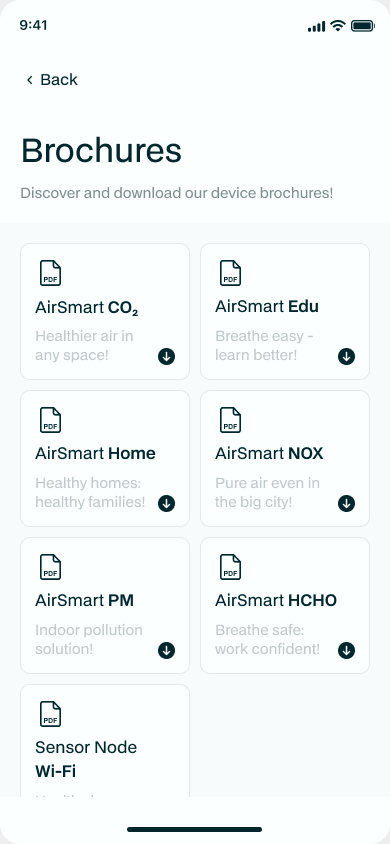
We've done away with bulky printed manuals - better for the planet, and they're always out of date the moment they're printed. Instead, every AirSmart product has its own brochure: a friendly, plain-English guide to that device and how to read it. Download the one for your product any time from our website at https://www.monkeytronics.co.nz, or grab it straight from the app under Settings → Support → Brochures.
Insert Batteries
If you have purchased either of the smaller battery powered AirSmart monitors, you'll need to insert the batteries. The smaller LP WAN device takes 2 x AAA alkaline batteries, while the larger Wi-Fi device takes 2 x AA batteries. In both cases, the batteries should last for several years. The enclosure will pop apart quite easily without using any tools. It's important to use good quality batteries. We recommend Varta High Energy or Long Life (they have a 3000 mAh capacity) which you can find in Bunnings for a good price. Good batteries will extend the operating lifetime by up to 3 times against standard cheap batteries.
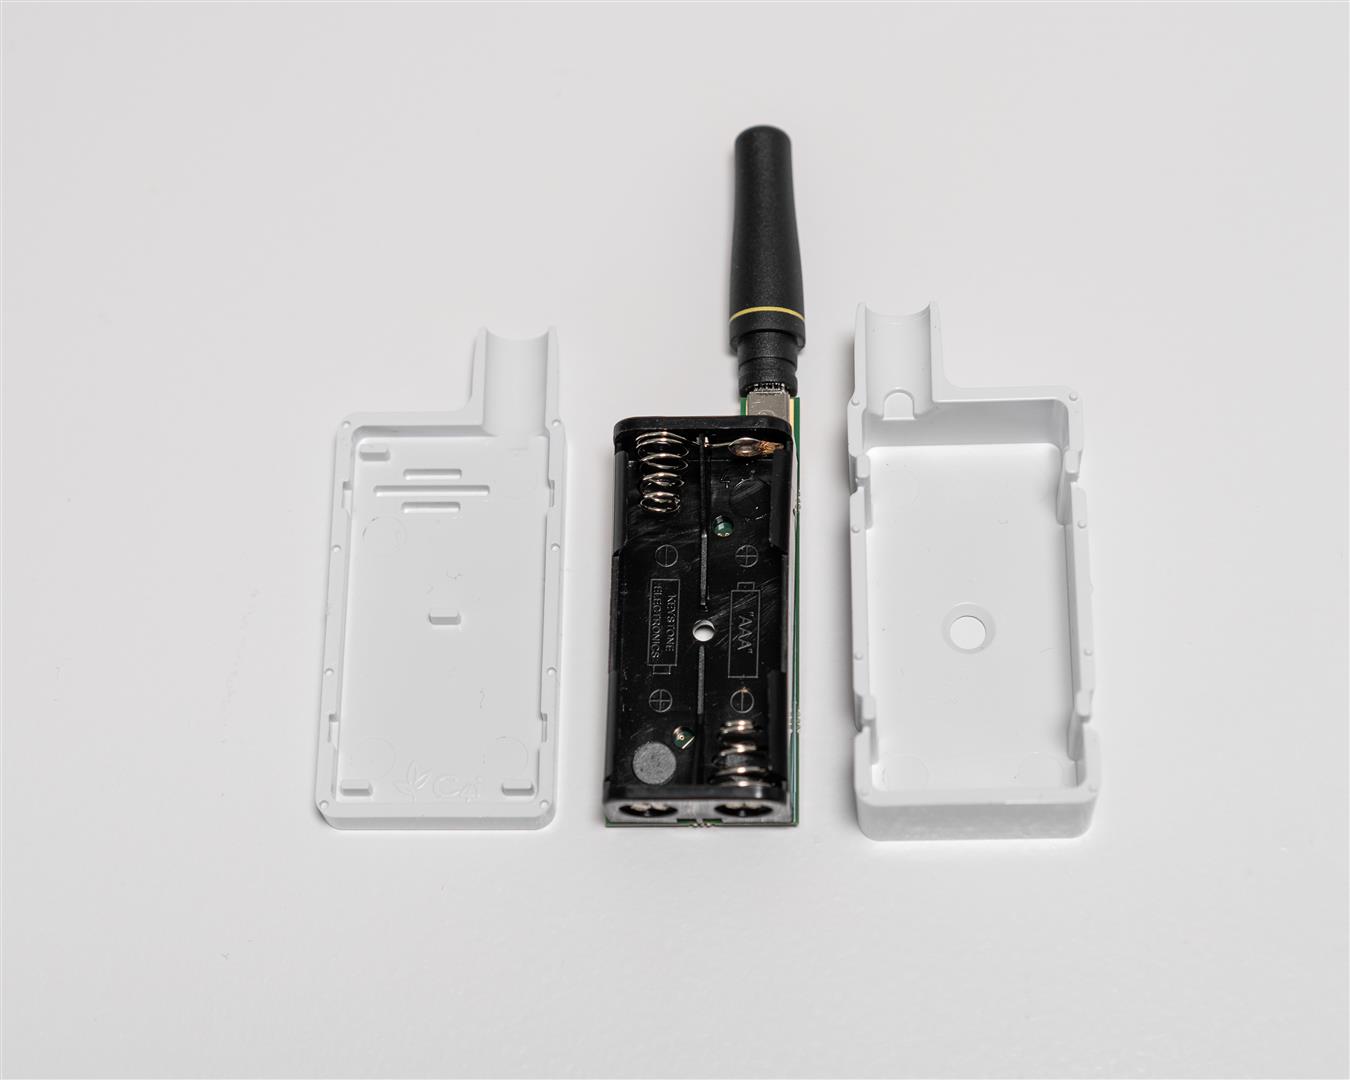
Figure 2a : Battery Replacement for LP WAN Device
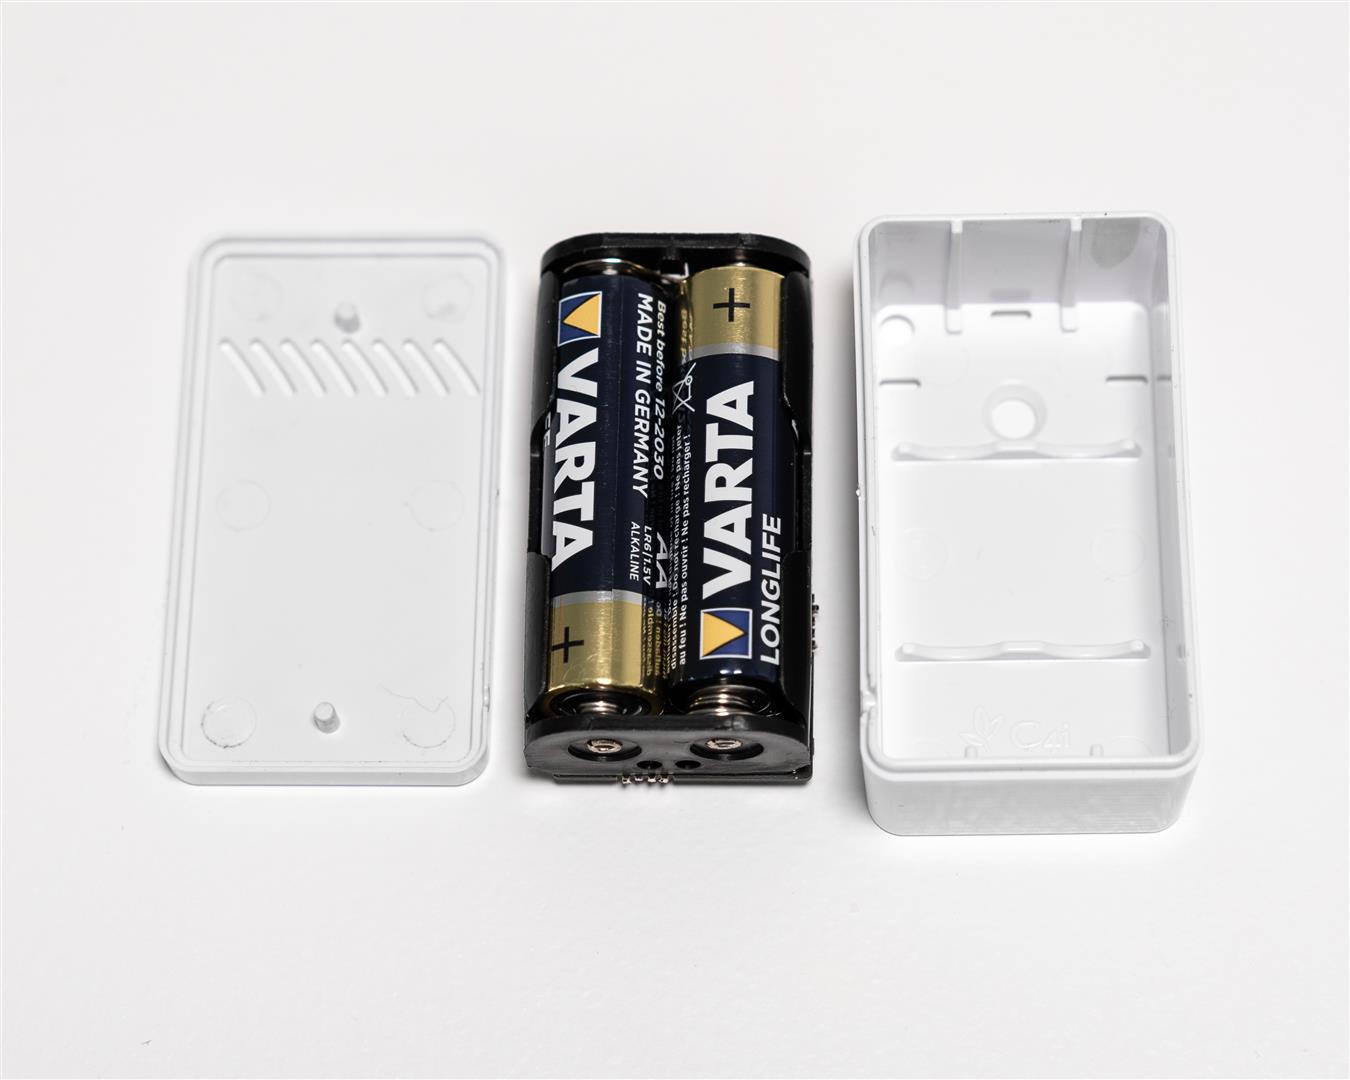
Figure 2b : Battery Replacement for Wi-Fi Device
Installation
Placement
Your AirSmart monitor should be attached to an interior wall away from windows or drafts, or on a bookshelf or similar. Be careful not to place it in direct sunlight as this will affect the readings. For best accuracy, it should be placed between 1.2 m and 1.8 m above floor level. Make sure the air slots and sensors are not obstructed.
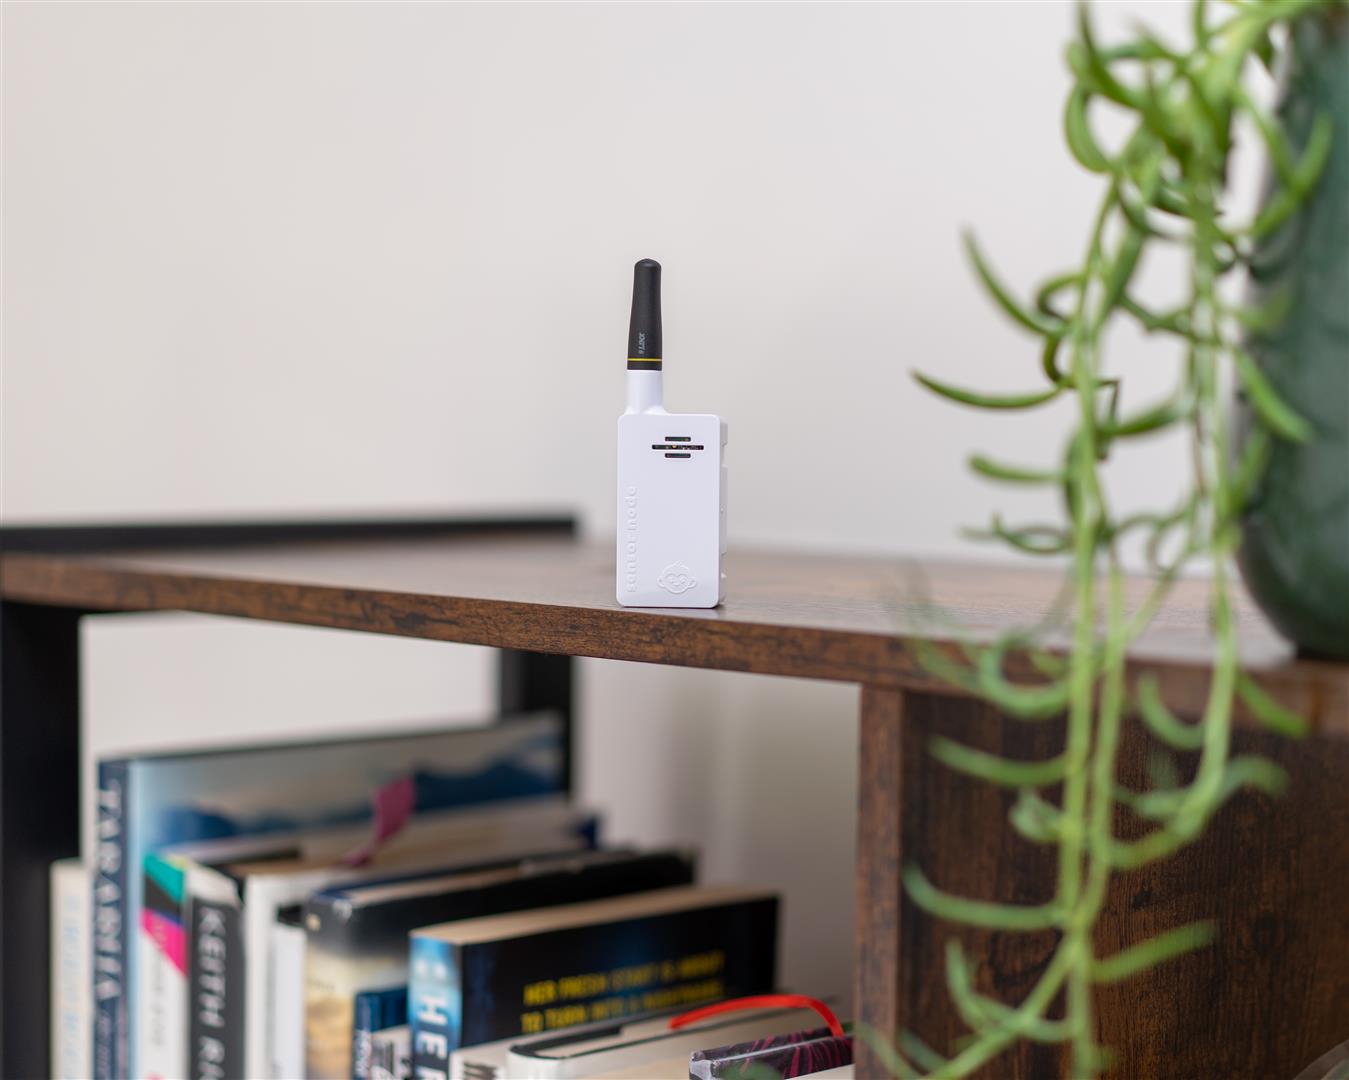
Figure 3 : Wall Placement
Carbon Dioxide and Other Variants
If you have purchased a CO2 Sensor, Particulate Matter Sensor or one of the other product variants, these are attached to the wall with 2 standard screws, placed in a vertical line 35 mm apart. Before putting the monitor in place, loosen the anti-tamper bolt on the bottom and ensure that the USB cable is connected. Locate the monitor onto the screws and lower it into place. Tighten the anti-tamper bolt again. The unit is now securely attached to the wall, and the USB cable cannot be removed at the device end.
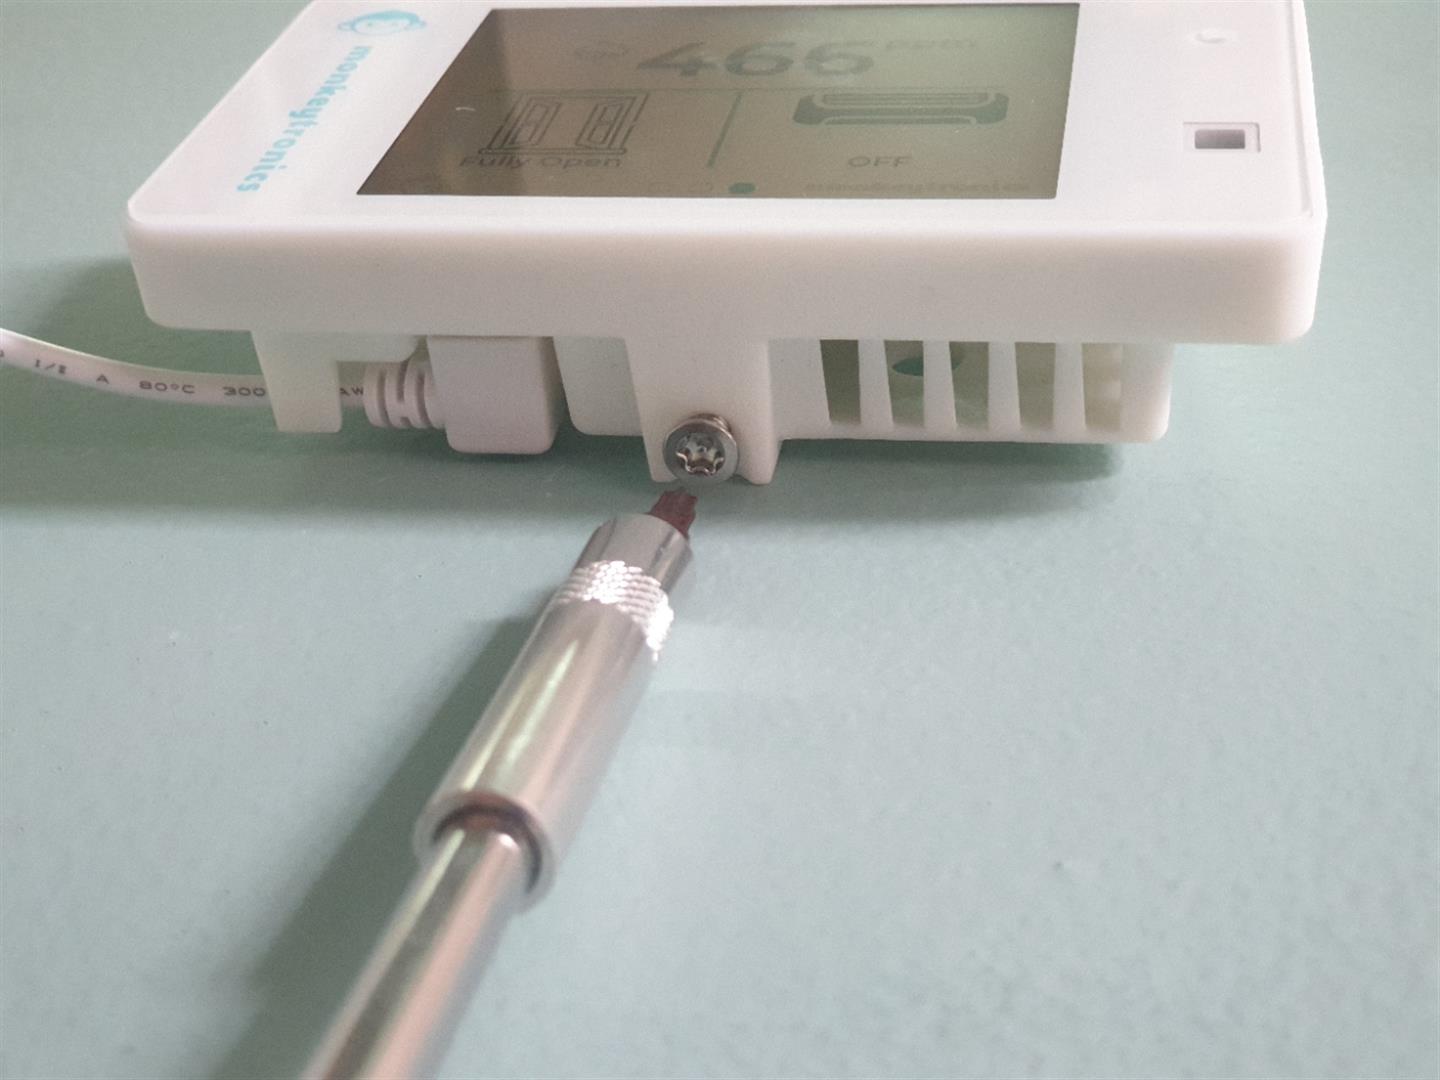
Figure 4 : Anti-tamper & security screw
Features
| Feature | Details |
|---|---|
| Connectivity | Wi-Fi / LP WAN |
| Power | Battery: 2 x 1.5V Alkaline |
| Measurement Interval | 15 minutes |
| Physical Dimensions | 6cm x 3cm x 2.5cm |
| Mounting | Screw fit / 3M adhesive strip (supplied on request) |
Specifications
| Measurement | Operating Range | Units | Accuracy |
|---|---|---|---|
| Relative Humidity | 0 - 100 % | % | 3.0 % |
| Temperature | 0 - 80 °C | °C | 0.3 °C |
| Carbon Dioxide | 400 - 10,000 ppm | ppm | 3.0% + 30 ppm |
Mobile App
Download the App
The app can be downloaded from the Play Store or App Store, depending on where you stand on Android versus Apple. Monkeytronics provides both!
PRO TIP
Use the QR code on the quick start guide to download the app
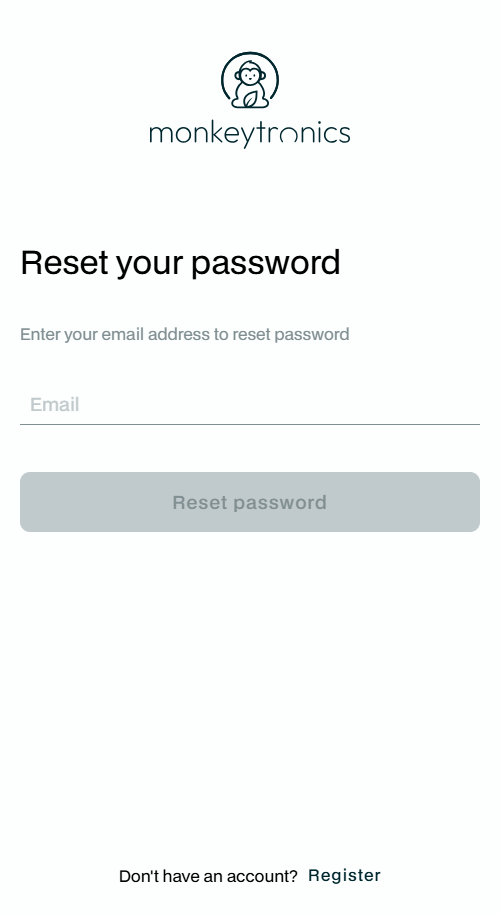
Register An Account
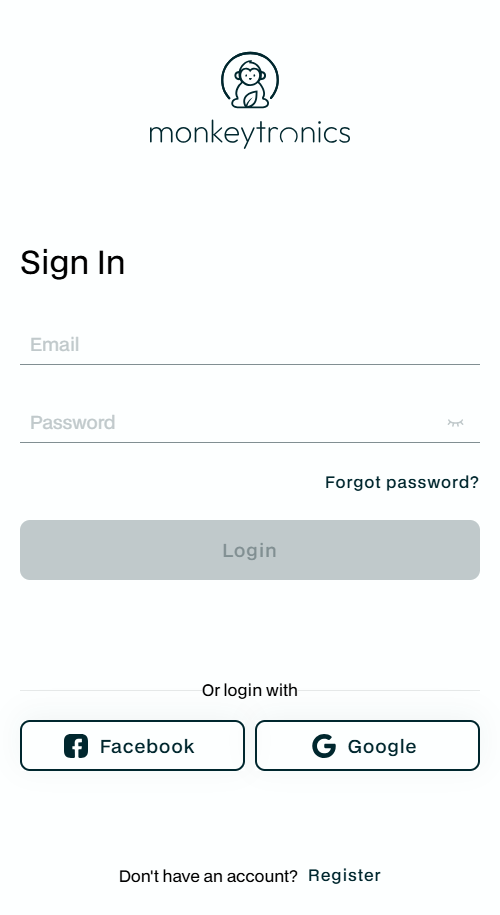
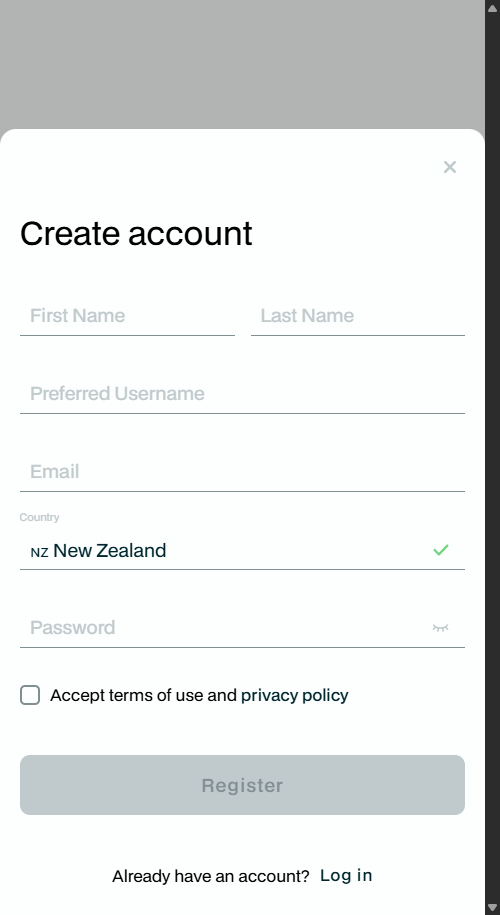
The first time you open the app you'll see the splash screen and then the sign-in page. Tap Register and provide your name, a username, your email address and a password. If you ever forget your password, no worries - just use the Forgot password? link on the sign-in page to reset it.
Add Your First Device
Once you've signed in, you can register your first AirSmart monitor. On the Devices tab, tap the + button to start the Add Device wizard. It's three simple steps: scan the QR code (on the monitor or the box it came in), customise the device (name, room, group and so on), and success! If everything goes well, the app will then offer to connect the device to Wi-Fi.
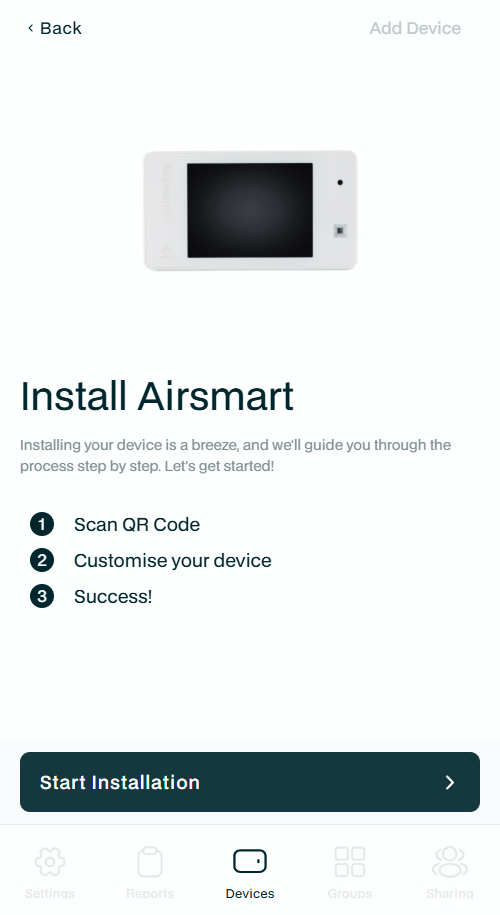
Figure 6 : The Add Device wizard
tip
This is the quick path to getting your first monitor online. For the full tour of the app — sharing, groups, notifications, reports and more — see the App Reference.
Connect to Wi-Fi
Wi-Fi Connection Wizard
After you've registered your device, the app offers to connect it to Wi-Fi. (You can also start this any time from the device menu - tap the device name, then choose Wifi.) The app will first ask you to put the monitor into pairing mode: press and hold the red button on the back of the device for a few seconds. The device will restart and open a secure Bluetooth channel. Tap OK, and the app will connect over Bluetooth, scan for nearby networks, and let you pick yours and enter the password. If anything goes sideways, just press and hold the red button again to start a fresh pairing session and try again.
PRO TIP
Once it succeeds you'll see a confirmation in the app. Occasionally the conversation between the device and your phone finishes early - on devices with a screen, check that the little Wi-Fi icon has appeared to confirm it worked.
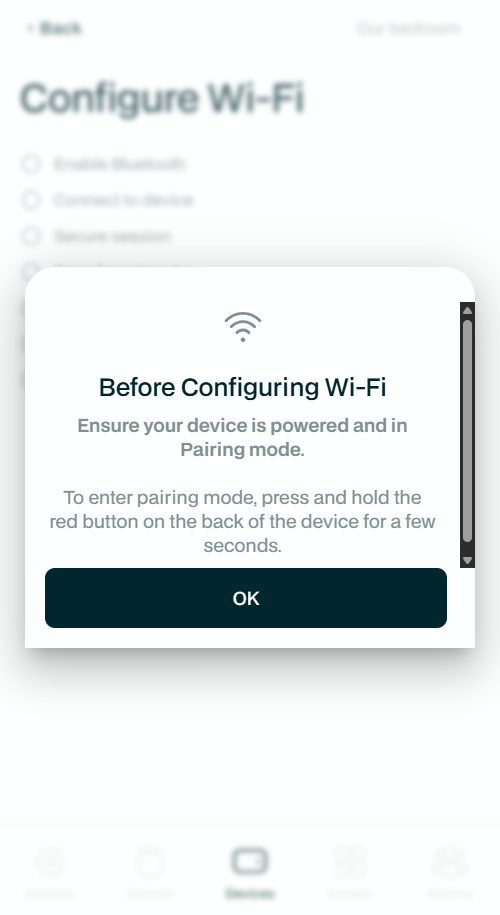
Figure 7 : Putting the monitor into pairing mode
Changing / Updating your Wi-Fi Connection
If you need to repeat this in the future, or move to a new Wi-Fi network - no problem. Tap the device on the Devices tab, open the device menu, and choose Wifi to run through the wizard again.
AirSmart Web Portal
In addition to the mobile app, Monkeytronics also provides a full featured Web Portal. This was designed to enable organisations with a large number of devices to manage their fleet of devices and quickly filter and report on them to get maximum value from their data.
The web portal is available as a complete stand-alone alternative to the mobile app. However, in order to add new devices to your account, you do need to use the mobile app. This is because we use QR code scanning to register the device's Porting Authorisation Code (PAC), and we also need to communicate directly with the device over Bluetooth LE as part of the Wi-Fi provisioning process.
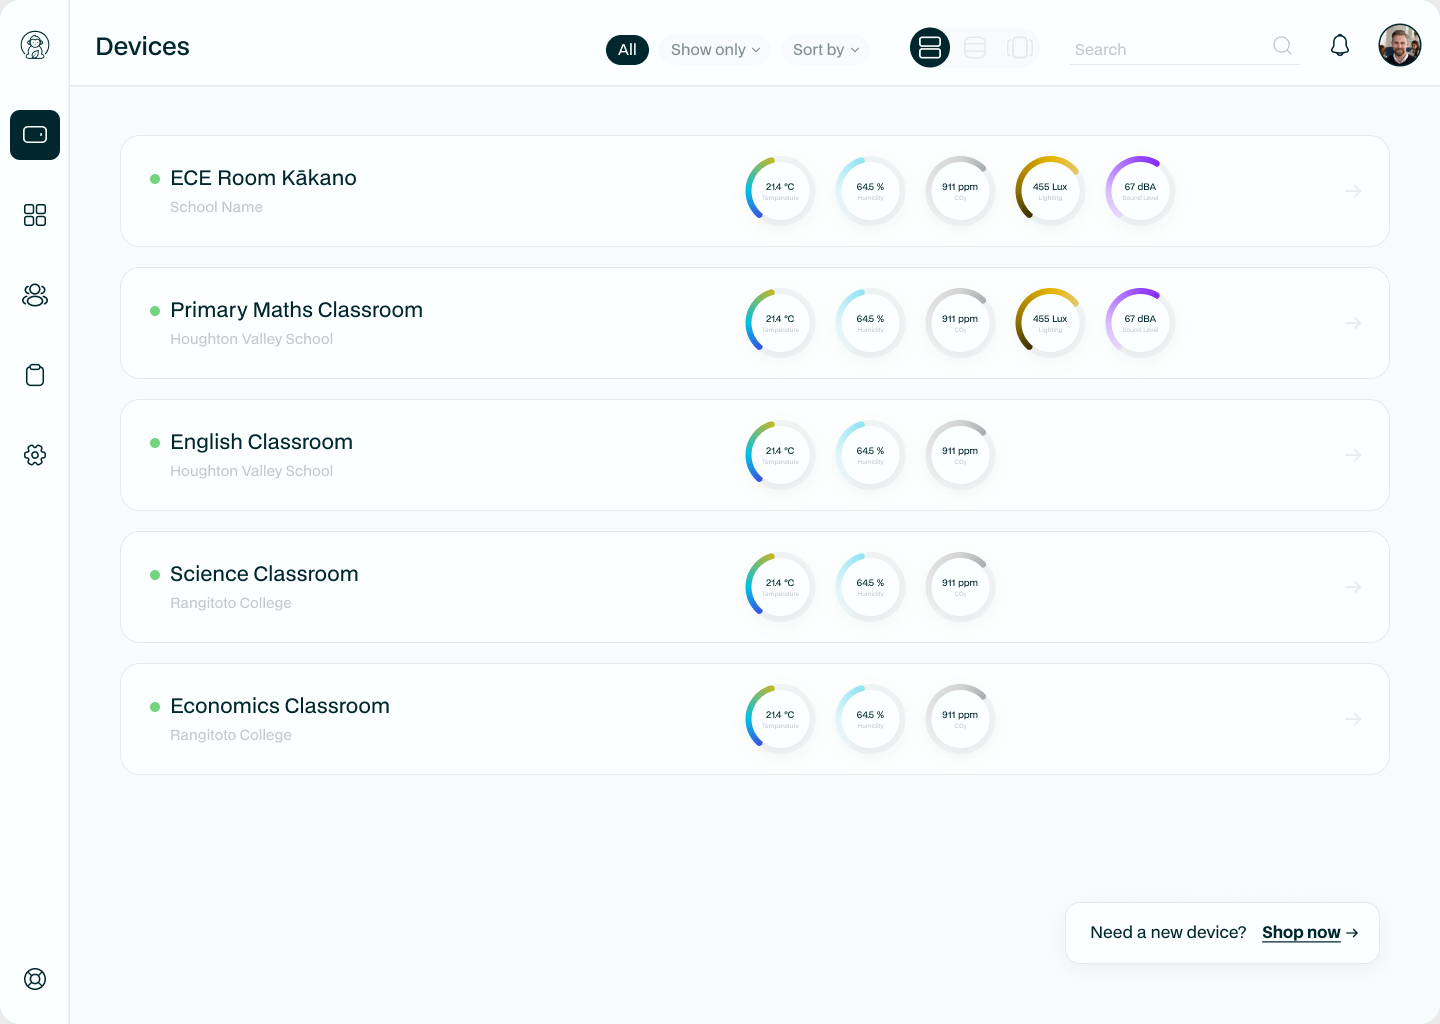
Figure 8 : Web Portal
PRO TIP
The AirSmart Web Portal is available on any browser at https://data.monkeytronics.co.nz
Get Help
If you would like to report an issue or a bug, you can do this directly at the Service Desk : https://service-desk.monkeytronics.co.nz
Lastly, if you're still stuck, just get in touch! You can email us at support@monkeytronics.co.nz. We'd be happy to support you over email, phone or video call.