Register and connect
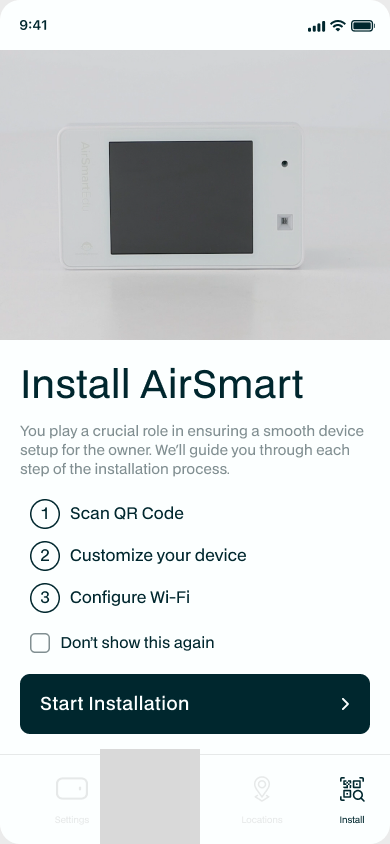
With the device mounted and powered, register it and connect it to Wi-Fi in the Airsmart Installer app. This is the Add Device wizard: three steps, Scan QR, Customize, Configure Wi-Fi.
Start the install
From the site (or the Install tab) start Add Device.
Step 1: Scan the QR code
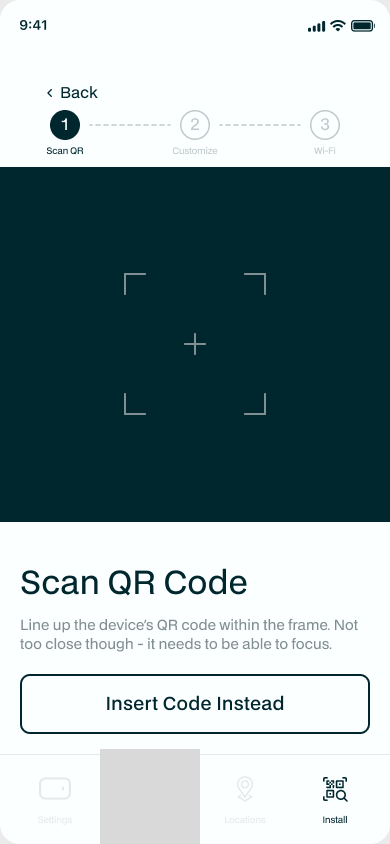
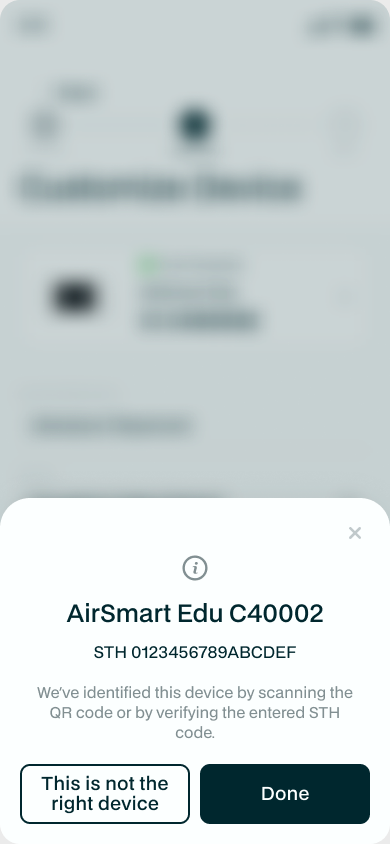
Line up the QR code on the device (or its box) in the frame. If it will not scan, tap Insert Code Instead and type the STH code printed on the label. The app confirms the exact device it has identified before you go on.
Step 2: Customize the device
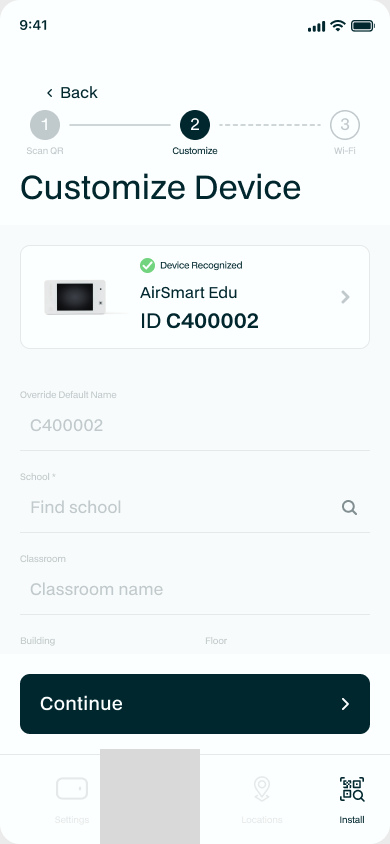
Give the device the details unique to it, such as its name and room. You do not re-enter the site details here: they come from the Location.
Network requirements
Before the Wi-Fi step, make sure the network suits the device. Airsmart WiFi devices use an ESP32 radio, so the network must be:
- 2.4 GHz. The device does not join 5 GHz networks. If the router is dual-band with a single combined name, make sure a 2.4 GHz band is available.
- Plain name and password (WPA2). The device supports a standard network name (SSID) and password only.
The following will not work: enterprise / login-page networks (a username and certificate, or a web login / captive portal, common on school and corporate Wi-Fi), and hidden-only setups where the exact name cannot be entered. Use a standard WPA2 network, often a dedicated IoT or device network.
Have the exact 2.4 GHz network name and password on hand. Both are case-sensitive. On a school site, ask IT for the device or IoT network rather than the staff or guest one.
Step 3: Configure Wi-Fi
When prompted, put the device into pairing mode: hold the red button on the back for a few seconds. Pairing mode lasts about 30 seconds. The app then connects over Bluetooth, lists nearby 2.4 GHz networks, and asks for the password.
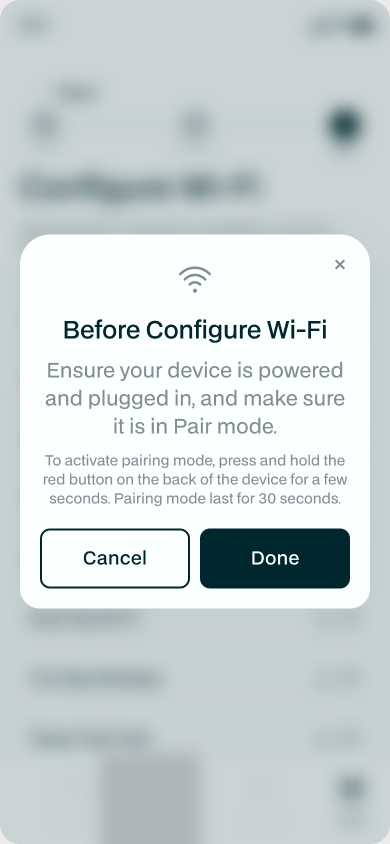
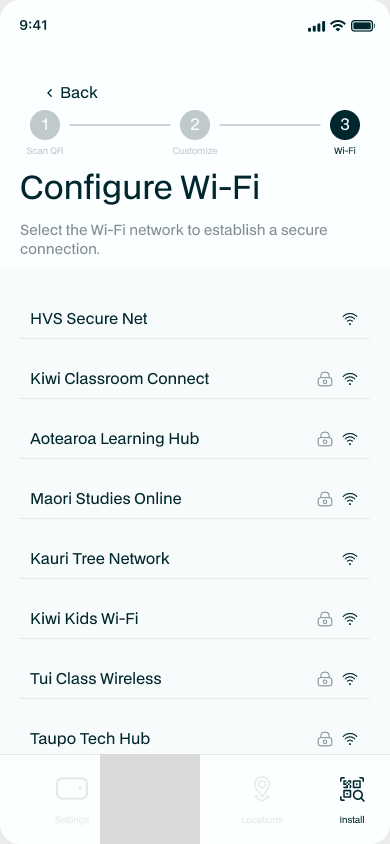
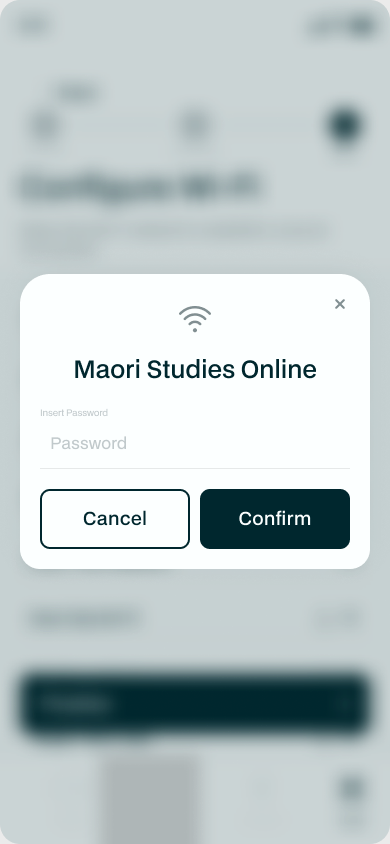
On the Wi-Fi step you can choose to remember the network for the next hour. The following devices then connect to the same network automatically, so you type the password once for the whole site. It clears itself after an hour.
Installation completed
The app confirms the device is installed. It starts reporting within about 10 to 15 minutes. Tap Install another device to move straight to the next one, or Done.
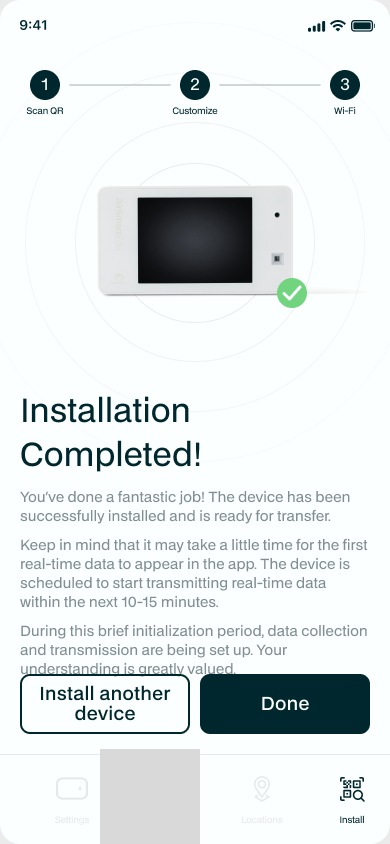
Register and connect all your devices at a desk first, then mount and photograph them room by room. See the Monkey-recommended flow.
Photograph the location
Once the device is mounted and installed, open it in the app and add photos of where it is in the room (up to three). This gives the owner a visual record of each monitor's spot, alongside the site floor plan, and helps anyone who services it later find it.
If it will not connect
- Press and hold the red button again to start a fresh pairing session, then retry.
- Confirm the network is 2.4 GHz with a plain name and password.
- Re-check the password. It is case-sensitive.
- If the signal is weak where the device is mounted, move it closer to the router or add a 2.4 GHz access point nearby.
Once the Wi-Fi icon shows on the device screen, the device is connected.
Next: Hand over to the owner.